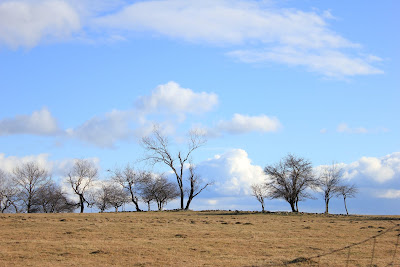
 After:
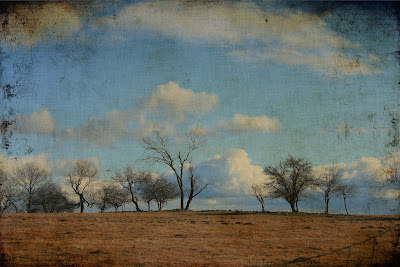
To get myself jump started with my 2012 blogging, I thought I'd post a step by step before and after of how I got from start to finish on the photo above. I really liked the photo untouched, but I also thought it would look cool with some texture and depth added. I really like the way the clouds look in the "after"...almost like an old postcard.
I'm using Photoshop CS5 right now, but these steps can all be done in Photoshop Elements as well. It's nothing complicated. I'm assuming you have a basic idea of how PS works, so I'm basically just showing my layers and the layer blending modes, and opacities for each. If you have questions, please feel free to post them in the comments, and I'll see if I can help!
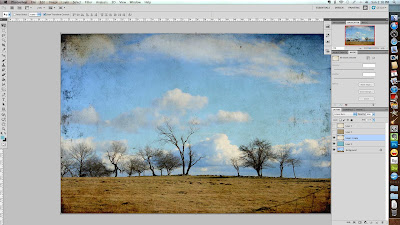
Step 1: Open the photo you want to work on. You can click these photos to see my layers panel on the right up close:
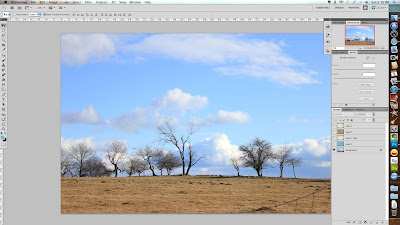 Step 2: Here I added a layer of aqua "paint" to warm up my blues and cool off my grass a little. It barely shows up here, but I could really tell the difference once I added my other layers and tried turning this one off and on. I set this layer on Overlay for my blending mode, at 17%:
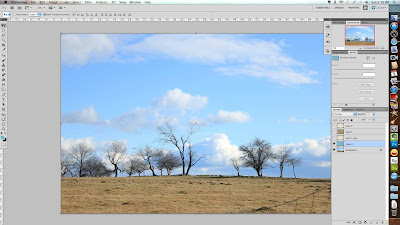 Step 3: Here I added a texture from Kim Klassen, which I received free from her because I subscribe to her weekly emails. You can sign up too, if you go to her blog HERE. The texture is a creamy background with grungy edges. I set it on Linear Burn at 90% opacity. You can see the instant character it gives the photo:
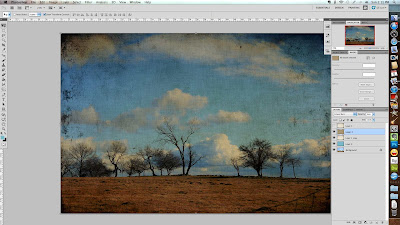
 Step 4: I'm a big fan of fabric textures, so I added one from The Coffee Shop Blog. She has lots of free textures, and her blog has been an invaluable resource for me in everything from figuring out how to use PS, to how to make cool stuff for my blog. HERE is a link to her free textures page. I used her Coffee with Cream fabric texture, in Linear Burn mode, at 54% opacity. Although I loved what this did to my photo, I thought it was a little too dark. However, if I made the opacity less, the effect wasn't showing up enough.:
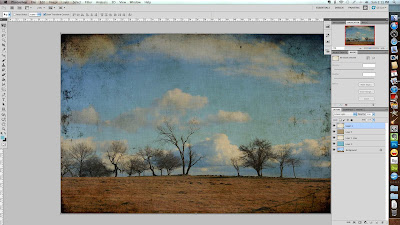
 Step 5: So...my final step was to add Kim Klassen's Revolution texture one more time...this time in Linear Light mode, at 11% opacity. This punched it up a little lighter, and I'm happy:
 Helpful Mac Hint of the Day: Aren't you all impressed with my screen shots? Ever since I figured out how to do them, I've been taking screen shots of everything. If you have a Mac, it's easy: CTRL+SHIFT+3. That's it! It plops the screen shot right on your desktop for you. (If you have a Windows machine, there is usually a "PRNT SCRN" button up on the top right area of your keyboard. I believe you click that, and it will prompt you to save the pic. Sorry I'm not much help there. I'm a total Mac junkie now, and I'm beginning to forget what life was like pre-Mac.) ;)
I hope you enjoyed!


2 comments:
Just noticed you're back in the blogosphere - yay! Welcome back. Look forward to your musings. You're way ahead of me on the PS stuff...I need to get on it!
Interesting effects! I've never used photoshop, so it's cool to see how things are done with it. Although I prefer untouched photos in general, I do appreciate the beauty in the altered version, too!
Post a Comment